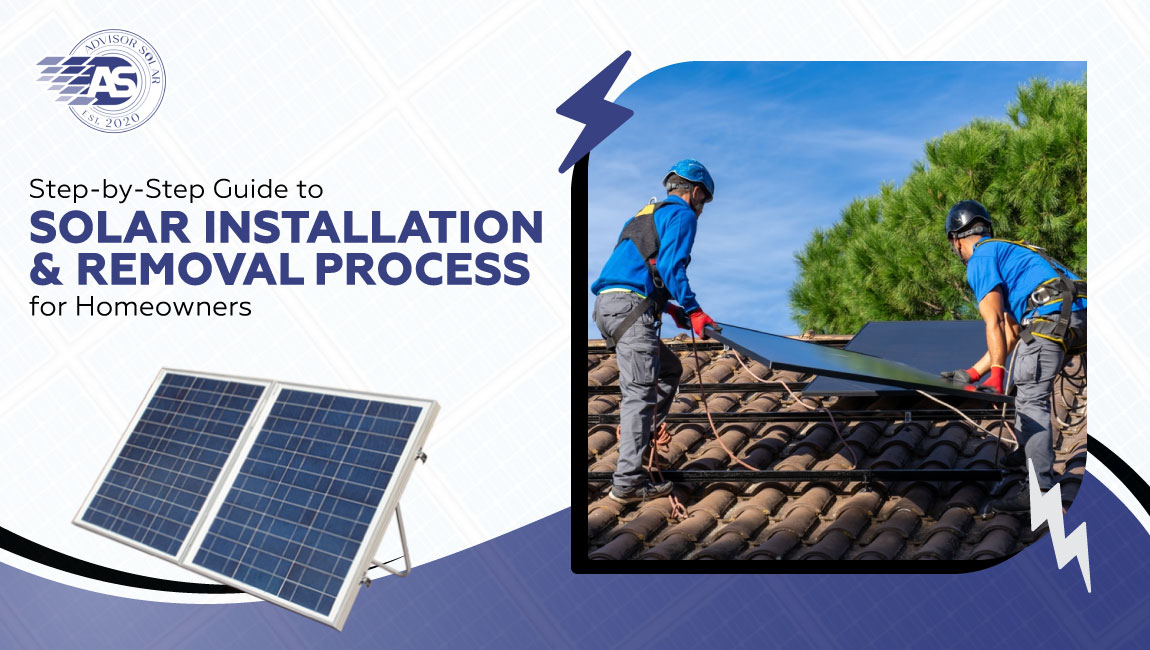
Installing solar panels is one of the smartest investments for your home. Homeowners who add solar panels save an average of $2,200 a year on electric bills. But it isn’t only about cutting back on your energy bills; it’s about making an impact on the planet. But what is the process actually like? And what if you ever want to remove the panels? If you’re looking to get started or brace for the unknown, here’s a guide for you.
At Advisor Solar, we have assisted thousands of homeowners in switching to solar energy and are ready to explain the process to you step by step. From installation to removal, we’re here to help.
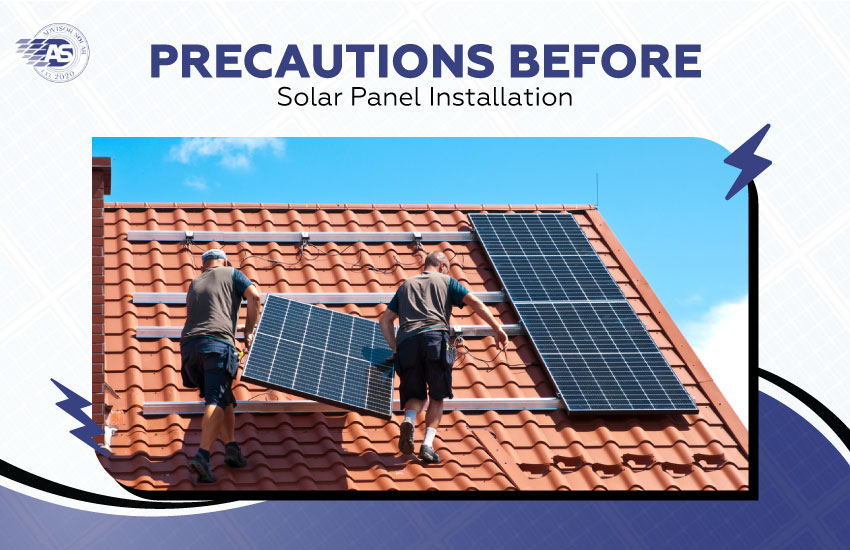
Precautions Before Solar Panel Installation
Preparing your home and evaluating the condition of your roof is vital before going into the installation process. Solar panels can last 25+ years, so the foundation should be strong after all.
Questions to ask yourself:
- Is your roof in good condition?
- Do you have adequate sun exposure?
- Are there obstructions like trees or neighbouring buildings that need to be addressed?
Such precautions ensure optimal and uninterrupted functioning of your solar system. Advisor Solar experts provide in-depth inspections to assess your roof’s fitness, detect challenges, and develop an instalment strategy.
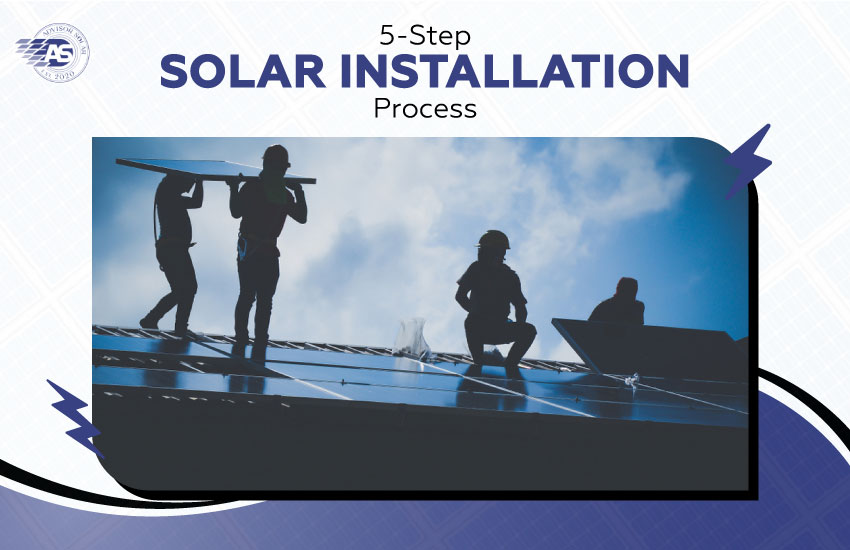
5-Step Solar Installation Process
Solar panel installations go well beyond affixing panels to your roof; these setups are thoroughly planned and implemented processes that provide optimal energy efficiency and lasting performance. Each step targets different considerations, such as your home’s energy needs, local regulations, and the specific attributes of your property.
Understanding the process will give you additional confidence about the pathway from consultation to activation and what you can expect along the way.
Step 1: Site Assessment and Consultation
Every successful solar installation starts with thoroughly assessing your home’s energy needs and site suitability.
- Our team evaluates your roof’s orientation, slope, and shading to determine the ideal setup.
- We review your current energy consumption and discuss your goals, such as reducing bills or achieving energy independence.
- This stage includes a clear breakdown of costs, expected savings, and system recommendations tailored to your home.
Did you know? Panels oriented toward the east or west generally produce about 15 to 20 percent less electricity than southerly-facing panels. In the United States, solar panels that face south receive the most sun throughout the day, resulting in more power generation.
Step 2: Designing the Solar System
Once we understand your needs, our engineers design a custom solar system to maximize energy output.
- The design considers panel placement, system size, and energy storage needs (if applicable).
- Advanced software simulates energy production over the year to ensure optimal efficiency.
- We develop a comprehensive plan to ensure your solar system is integrated into your home’s electrical system. An appropriately sized and well-designed system can reduce annual energy expenses by 30-40%.
Step 3: Permits and Approvals
Solar systems need permits to meet local codes and safety standards.
- We take care of all the paperwork, like building permits, electrical permits, and zoning approvals.
- The team handles utility compliance for grid interconnects and net metering agreements.
- Permitting timelines can vary, but Advisor Solar keeps you updated every step of the way.
This step can take a few weeks, but our expertise ensures no unnecessary delays.
Step 4: Solar Panel Installation
The actual installation is an exciting day for homeowners. It’s when your solar journey becomes a reality.
- Mounting systems are securely attached to your roof, ensuring structural integrity.
- The panels are set up and connected to inverters to convert the energy to electricity.
- Wires and electrical parts are connected to the electricity structure of your house.
Our team will complete most installations within 1-3 days so that you can continue without disruption.
Step 5: System Testing and Activation
We perform rigorous testing before your system generates energy to ensure everything works perfectly.
- We verify electrical connections, inspect for proper alignment, and run performance tests.
- Once approved, your system is activated, and you can start enjoying renewable energy immediately.
- We’ll guide you in monitoring your system’s performance using innovative tools for maximum efficiency.

When and Why Might You Need to Remove Solar Panels?
Although solar panels are designed for decades of use, there are scenarios where removal might be necessary:
- Roof Repairs or Replacement: Damaged roofs may require panel removal to fix underlying issues.
- Home Renovations: Modifying or extending your home could impact panel placement.
- Upgrading Systems: Some homeowners replace older panels with more efficient models.
- Relocation: If you’re moving, you might want to transfer your solar system to your new property.
At Advisor Solar, we offer professional removal services to ensure your panels and roof remain in excellent condition.
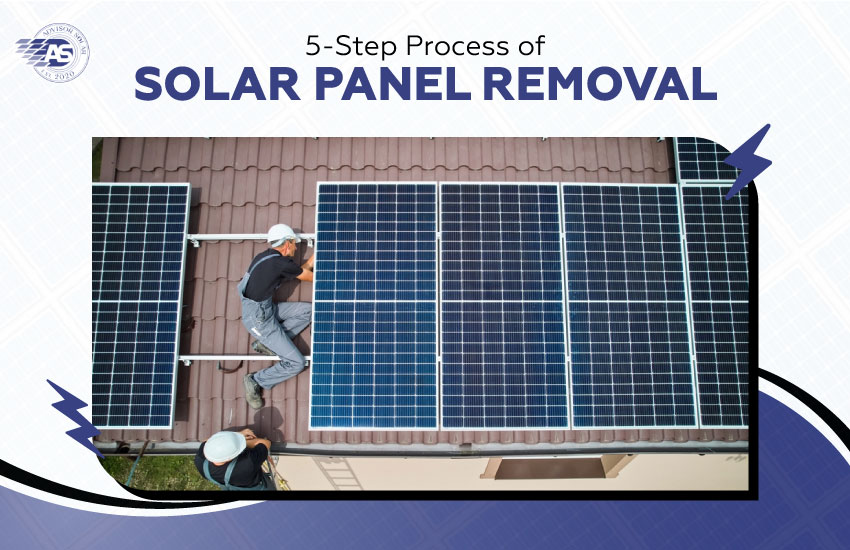
5-Step Process of Solar Panel Removal
Taking off solar panels is a complex procedure, but with the right care and expert help, your roof and the panels will be just fine. Whether you’re clearing out your system, responding to roof repairs, or moving, knowing the removal process can save you time, money, and stress.
According to real estate professionals, a home with a pre-installed solar panel system may appreciate by approximately 4%. At Advisor Solar, we take care of every step and ensure safety and efficiency are top priorities while getting your system ready for its next stage of use.
Here’s what the procedure entails:
Step 1: System Deactivation
Before removal, the system must be safely powered down.
- Disconnect the inverter and battery storage system.
- Ensure there’s no active current flowing through the panels.
- Deactivation prevents electrical hazards during the removal process.
Step 2: Disconnecting Components
All wiring and connections are carefully detached from the system.
- The electrical wiring between panels and inverters is disconnected.
- Mounting hardware is loosened without damaging the roof.
- Components are labelled for easy reinstallation if needed.
Step 3: Panel Dismounting
Each panel is carefully removed from the mounting system.
- Panels are lifted individually to avoid stress on the mounting structure.
- Care is taken to prevent scratches or damage to the panels.
- All components are inspected for wear and tear.
Step 4: Roof Repairs or Replacement
If the removal is for roof repairs, this step ensures your roof is restored.
- Damaged shingles or tiles are replaced.
- Roof flashing and waterproofing are re-inspected for integrity.
- Structural reinforcements are added if needed.
Step 5: Safe Storage or Disposal
Panels are either stored safely or responsibly disposed of.
- Stored panels are protected from environmental factors to preserve their lifespan.
- Panels that are no longer usable are recycled to minimize waste.
- At Advisor Solar, we ensure environmentally friendly disposal practices.
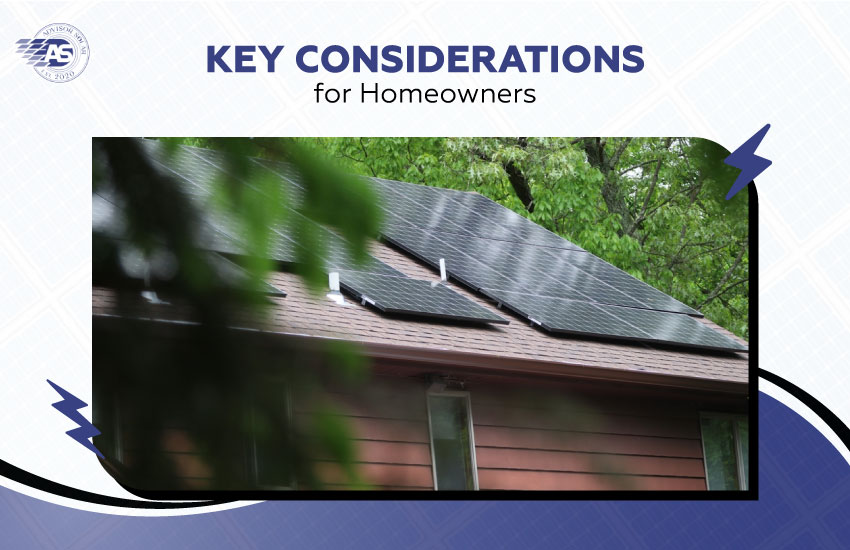
Key Considerations for Homeowners
Preparation is just as important as the process itself when planning a solar panel installation or removal. Homeowners who evaluate key factors can avoid unexpected issues, save money, and ensure their solar system delivers maximum efficiency.
These considerations will set the foundation for a successful project, from choosing the right professionals to understanding costs and preparing your roof.
- Hiring Qualified Professionals
- Cost and Time Estimates
- Ensuring Roof Readiness
1. Hiring Qualified Professionals
Partnering with certified professionals is essential for safe and efficient solar work. Expert installers understand the nuances of solar systems, ensuring proper placement, wiring, and long-term durability.
- Certified teams follow industry standards, preventing damage to your property.
- Professional work ensures your warranties remain intact.
- Skilled technicians identify potential issues before they become costly problems.
2. Cost and Time Estimates
Understanding the financial and time investment involved in solar projects helps you plan effectively. A clear breakdown of costs ensures no surprises during the process.
- Installation is typically no less than 1-3 months, including permits and approvals.
- Solar removal costs vary by system size and complexity but average $2,800-$4,800. However, there is good news in 2024: the IRS handed out $8.4 billion in tax credits to more than 3 million households for clean energy upgrades, including the installation of solar panels, which will assist with the cost of installation.
- Transparent cost estimates include permits, inspections, and any additional work.
Ensuring Roof Readiness
Your roof’s condition directly impacts the success and longevity of your solar system. A strong, compatible roof can handle the panels’ weight and resist environmental wear over decades.
- Conduct a professional roof inspection before installation.
- Repair or replace worn shingles, tiles, or other materials as needed.
- Ensure the roof’s slope and orientation are suitable for optimal energy production.
By addressing these considerations early, you can avoid unnecessary delays, expenses, and complications, ensuring your solar investment delivers long-term benefits.
Benefits of Choosing Advisor Solar for Your Solar Needs
As this guide has covered, hiring professionals for solar installation and removal is critical. With over 10+ years of expertise, 2000+ executed projects, and a vision to make solar energy easy and affordable, Advisor Solar is a one-stop solution for your solar needs.
With the help of Advisor Solar, you’ll receive:
- Comprehensive Services: From site assessments to maintenance, we handle it all.
- Expert Craftsmanship: Certified professionals ensure quality and safety.
- Customer-Centric Approach: Clear communication and tailored solutions.
Ready to start your solar journey or need help with panel removal? Contact Advisor Solar today for a free consultation and take the first step toward energy independence.
FAQs
The entire process, including permitting, design, and installation, typically takes 1-3 months.
Solar panels require minimal maintenance. Cleaning every 6-12 months and periodic system checks ensure optimal performance.
Panel removal does not damage the roof when done by professionals. We take precautions to maintain its integrity.
Yes, most panels can be reused if they are in good condition. Proper storage during removal is key to preserving their functionality.

